How to make a comic book cover in 10 steps
Creating a comic book usually happens from the inside out, making cover design the last step of the process. But even with the end in sight, you don’t want to rush this phase. There are many elements that come together in an effective comic book cover, from character choice, composition, and color palette to book title and font style.
A striking comic book cover can also go a long way toward generating sales, so give yourself time to get it just right. With our step-by-step guide, you’ll learn how to make a comic book cover that creates intrigue and captures your creative vision.
1. Do your research
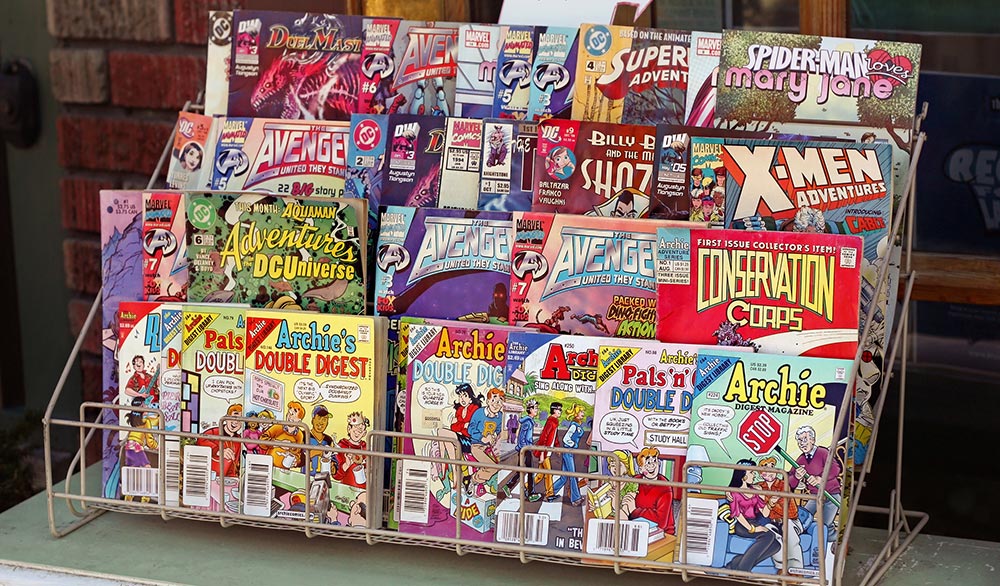
Researching comic book cover design is not only fun—it’s an essential part of your job. Explore current comic book trends, and notice what appeals to you as a reader. You can search online, visit comic bookstores, read blogs by comic book illustrators, or ask friends and comic fans to talk about their favorite covers. Once you start examining comic book cover designs with a critical eye, you will see patterns—like which character poses and text placements work well and which don’t.

2. Brainstorm comic book cover scenes
After looking at a range of comic book covers, it’s time to test out some comic book ideas. Think about the cover like a teaser for your audience, and make a list of possible cover scenes that connect to the storyline. Do you want to show the main character alone, with a villain, or in a group? Keep in mind the cover scene on a superhero comic will likely differ from that on a detective series, fantasy narrative, or horror comic. A good cover illustration needs to fit the genre and overall mood of the story, whether the goal is creating mystery, portraying courage, or showing a diverse cast of characters. So, choose the who and what of your cover scene carefully.
3. Select a character pose and viewpoint
Each character’s size, posture, and facial expression can say a lot about their personality and strengths. Drawing the hero larger than life in the foreground suggests power and triumph while drawing them to scale with other characters puts everyone on equal footing. Do you want to introduce readers to your main character in the midst of a conflict, embarking on a new adventure, or striking a powerful pose? Is it symbolic to show them running, jumping, fighting, falling, flying, hiding, smiling, scowling, or staring into the distance?

The tone of your comic book cover can also change depending on whether the main character is facing the reader, moving across the page, or posing in profile. Try different perspectives too, and see which one works for your story. Discover if vantages from street level view, character close-up, bird’s eye view from above, or looking up from below work.
4. Sketch the cover image
Just as you sketched out the interior pages, you’ll want to do a few thumbnail drawings of the cover to get a sense of scale. If your comic book cover features multiple characters in motion or a lot of activity, try to create a visual flow. Remember that the eye typically moves left to right, then from the middle down to the bottom of the page.
You’ll also need to ensure that there is room to add the other cover elements, as noted in steps 5 and 7. These include title, author, logo, publisher, series number, publication date, price, and barcode. Remember, the perfect composition doesn’t always happen on the first try, so expect some trial and error. Experimenting with thumbnail sketches will help you create a final layout that is clear, balanced, and aligns with the content inside.
5. Create a title
Start with a list of keywords related to this comic issue, and try including a character’s name, a conflict, a symbolic object, a place, or even wordplay in the title. Then decide whether you want to add a series name or tagline. Make sure the main title is not too long; otherwise, the layout will feel crowded.
Once you have a winner, choose a title font to fit your comic book. Just as the title and cover image need to work together to create the same mood, the cover font should match the interior font style. Keep the lettering style simple and legible, and avoid adding too many colors, special effects, or shadowing, which can be distracting.

6. Draw the cover scene
If you completed your interior pages, you already know the drill. Using your thumbnail sketches as a reference, draw your cover illustration and title name in pencil first. When you are happy with the outlines, proportions, and spacing of everything, forge ahead.
7. Add the author’s name, price, and publishing details
If you prepared your thumbnail sketches carefully, there will be room to fit all the cover elements without compromising key parts of the illustration. Whether you write these by hand or add them digitally, use a clear, legible font style.
- Name of author & illustrator: The author’s name should appear in a clear, readable font. Many illustrators also include a signature on the cover artwork.
- Logo: Some comic book series include a logo as part of the branding.
- Publisher name
- Series number
- Date of publication
- Price
- Barcode: Leave space to add an ISBN during layout
8. Ink your drawing
Once you have penciled in everything and added all the text elements (or created text boxes to fill in digitally later), start going over your drawing in ink. Use consistent textures, depth, and shading effects that align with the look and feel of the inside pages.

9. Apply a color palette
Choose a set of colors to fit the mood of your comic. If you’ve finished the interior drawings, you know the color palette you are working with. Make sure the colors you assigned to certain characters and scenes match the cover. Bright, vivid, primary colors (red, yellow, blue) work well for straightforward action comics or funny narratives. Rich, warm tones (deep turquoise, navy, magenta, gold, purple) are strong choices for moody dramas or mysteries. A black and white color palette creates a stark, dramatic feel that can work for any genre.
10. Upload your cover
Your comic book cover layout is almost complete! If you’re using BookWright to design your interior pages, now’s the time to add your cover design. This is also the step where you might digitally add text elements, publisher details, or text boxes to your final design.
Blurb’s PDF Uploader is another fast and easy way to create a print-ready comic book. Check out our range of free bookmaking tools to find the one that fits your project.
It’s time to create and print your new comic book and share your vision with fans and friends!

