How to make a cookbook
Cookbooks inspire us, teach us, and ultimately feed us. Why not record your culinary masterpieces or your no-fail weeknight dinner in a bound book? A cookbook can be a thoughtful gift to a loved one or an inspiring item for someone looking to get into cooking. From ideation to execution, here’s everything you need to know to make your own cookbook.
The ingredients
Plan the chapters of your cookbook in advance
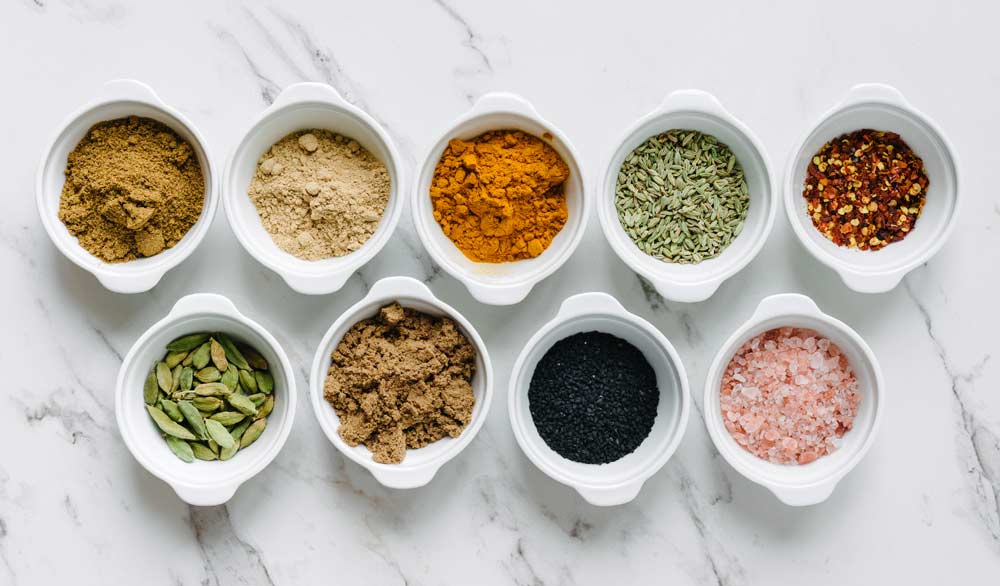
Before you begin developing recipes, laying out your text, or shooting photos, create an outline. You can make the process more efficient when you start with a comprehensive plan. Define different sections or themes in your cookbook—do you want to split them up by protein or occasion or entrees and sides? In the outline phase, you may realize that you have too many or too few of a certain kind of dish or that you can take pictures of two different dishes at once. Overall, it’s better to have a clear idea of the final product before you embark on cooking each meal.
Test your recipes, re-test, and proofread
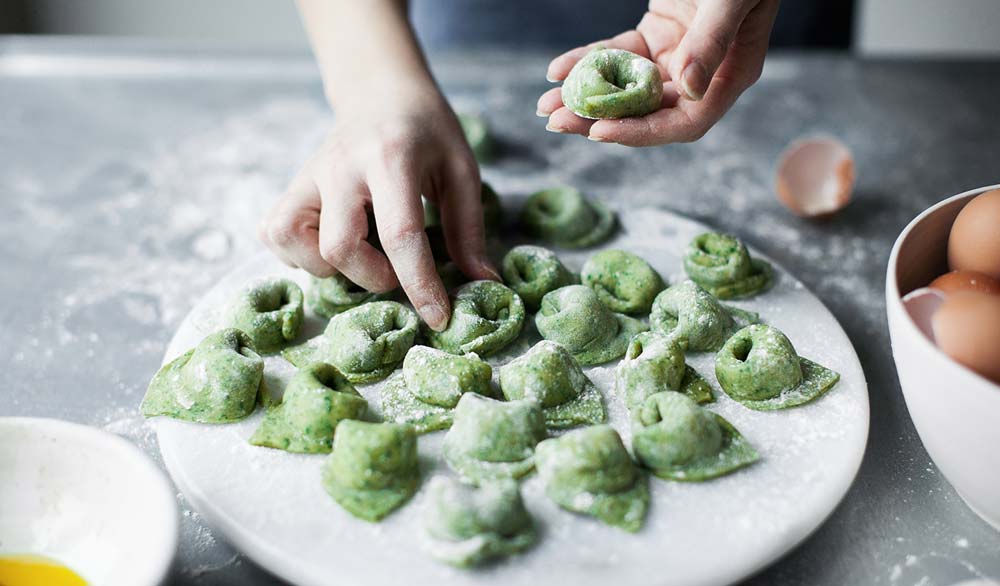
Making a fantastic meal is only half the battle. The real challenge of making a cookbook lies in knowing the recipe so well that it will be just as delicious each time you or your audience recreate it. Each time you make the recipe, keep careful notes about what you’ve done and watch for any variation in your technique. Not only do you want to edit the book yourself to watch out for a classic typo, but you’ll also have to be careful that each amount is noted correctly. Check that each ingredient you’ve listed shows up in the instructions. Recipe proofreading is best done with the help of a friend who can cook your recipe exactly as you have it to see if it’s easily and accurately translated.
Consistency is key
It’s important that the measurement abbreviations, ingredients, and recipe sections are the same throughout your book so your readers know what to expect with each recipe. If one recipe spells out “unsalted butter,” but in the next recipe you just say “butter,” your reader may misunderstand and feel confused. You’ll want to spell and identify ingredients the same way throughout your book and ensure all of your measurements are using either the metric or imperial system.
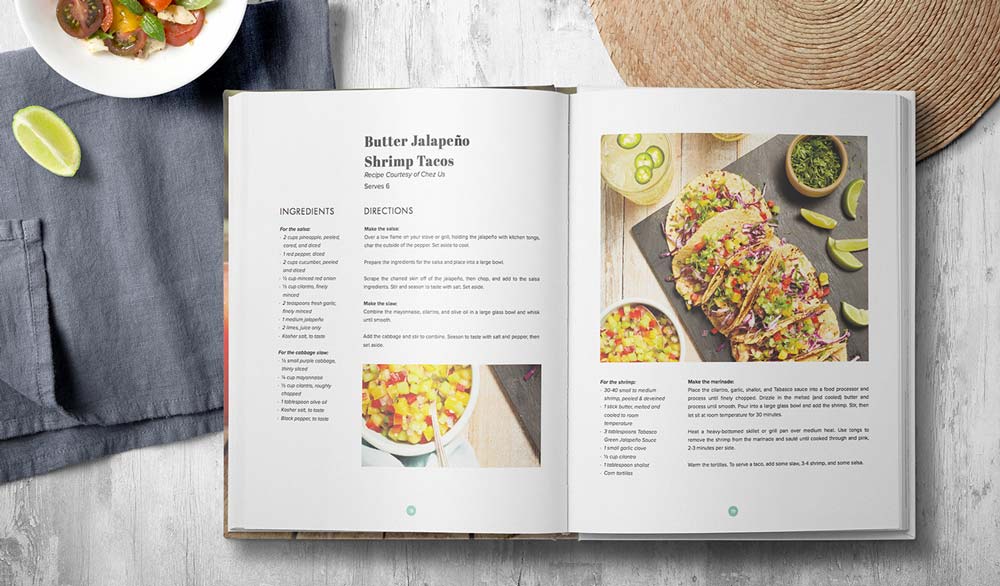
Additionally, you’ll want to make sure your recipes all have the same components, like a title, instructions, equipment list, ingredients, time estimate, and serving suggestions.
Visit our blog to learn how to organize your cookbook recipes.
The assembly
Choose the basics of your cookbook
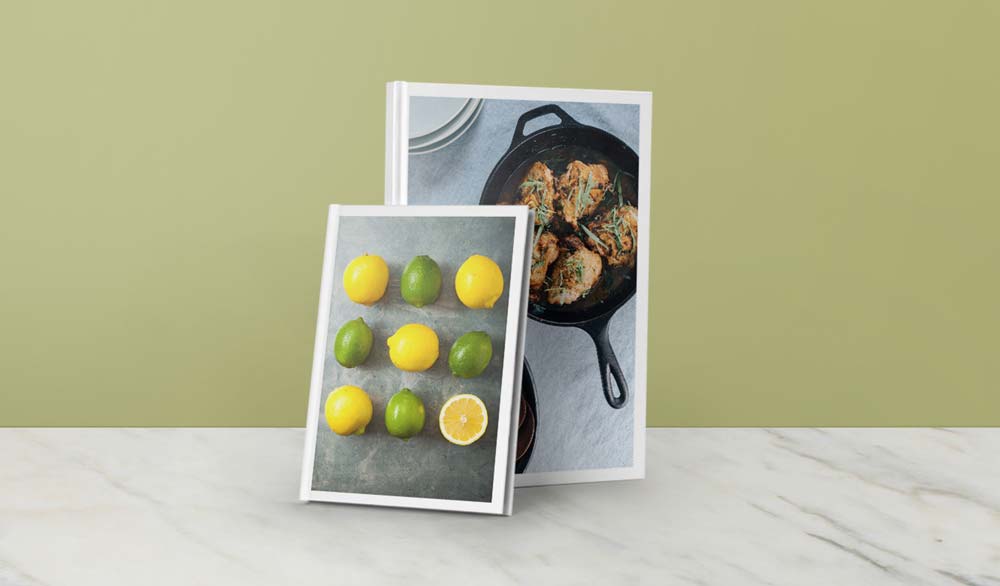
Choose the size and trim space of your book based on the purpose and content. A small collection of cupcake recipes won’t need the same space as a book of 50 family favorites. Consider a small 7×7 photo book for those cupcakes and the more spacious trade book for detailed recipes. No matter the page size or recipe length, make sure your trim size leaves plenty of room for white space along the border of your content so that it’s aesthetically pleasing and easy to read. For cookbooks, we recommend doing a Layflat photo book where the pages literally lay flat, so you can have your book open on the counter instead of struggling to flip to a recipe with messy hands.
Plan your layout with care
If you know you’re using a portrait-orientation book, you’ll want to shoot the majority of your photos in portrait format. If you know which recipes you plan to feature in your cookbook, you’ll shoot those as landscape-format or detail shots because you’ll create full-bleed (meaning the colors go all the way to the edge and have no margins) spreads or small, inset close-up shots for those important recipes. When you plan your layout in advance, you can focus on the photos and recipes that take up a full page in the book or sit adjacent to a full-bleed image. In this stage, you can ensure your cookbook is starting to flow even before you add the content.
Have fun with the headnotes
Headnotes refer to the recipe introduction of your cookbook, where you tell the story of the dish, techniques you use, the lore of the ingredients—anything that reveals why you make this meal and why it would matter to your reader. This is what makes this cookbook yours. Take a look at recipe headnotes that compelled you to cook something and mimic those in your own writing. While food photography may draw your reader to a dish, these headnotes create your relationship with the reader and help make a case for recipes that don’t have show-stopping photos and illustrations.
The Presentation
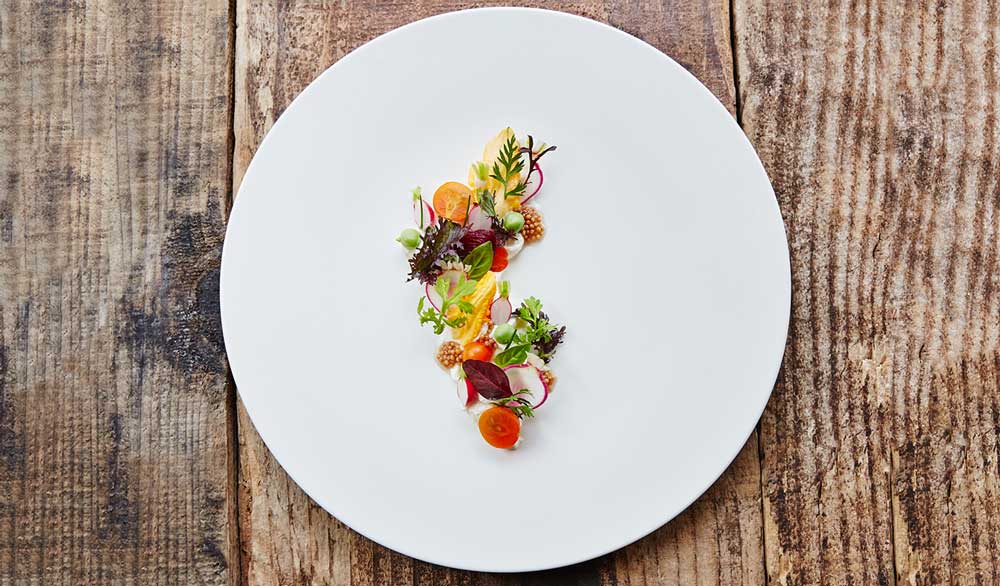
Plate for the eye, not the stomach
Good food photography relies on negative space to emphasize the stars of the shot. While an overloaded plate might tantalize those at the table, leaving space on the plate helps frame the food and affords more opportunity for balance and symmetry in food presentation. This is also true for table set-ups. If each and every object in the shot isn’t working hard, take it off the table. A knife doesn’t tell the story of a soup, so don’t have it clutter the place setting. To make food grab your reader’s attention, you have to ruthlessly rid your shots of distractions.
Natural light is your friend
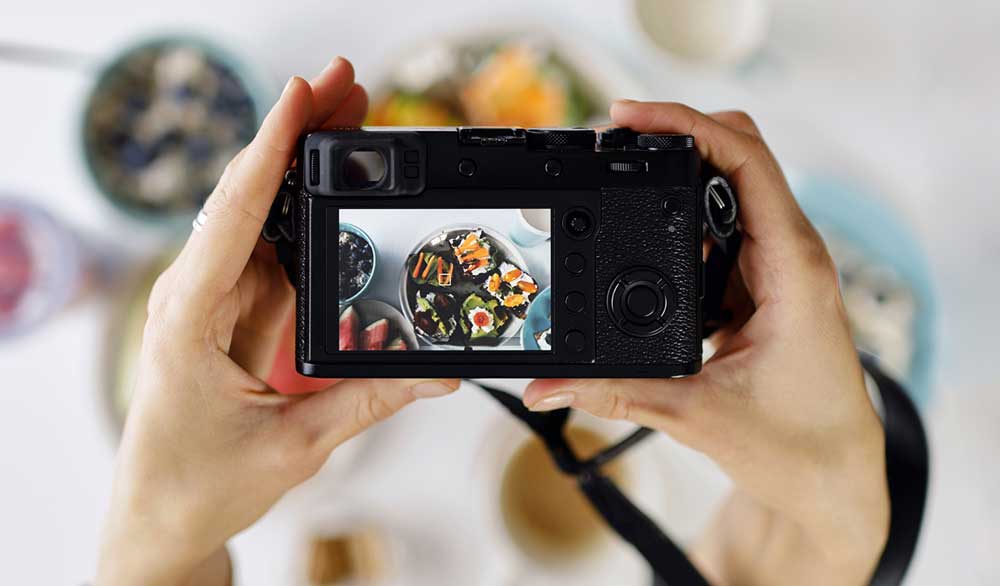
The most appetizing food is typically shot with a single, natural light source from the side. Side lighting helps reveal texture and form, and light from a flash can have a deadening, flattening effect. Shooting with natural light may mean taking your photos in places other than your kitchen and dining room to find the best light or shooting your evening meal foods in the morning if that’s when the light in your space is best.
Variety is the spice of life
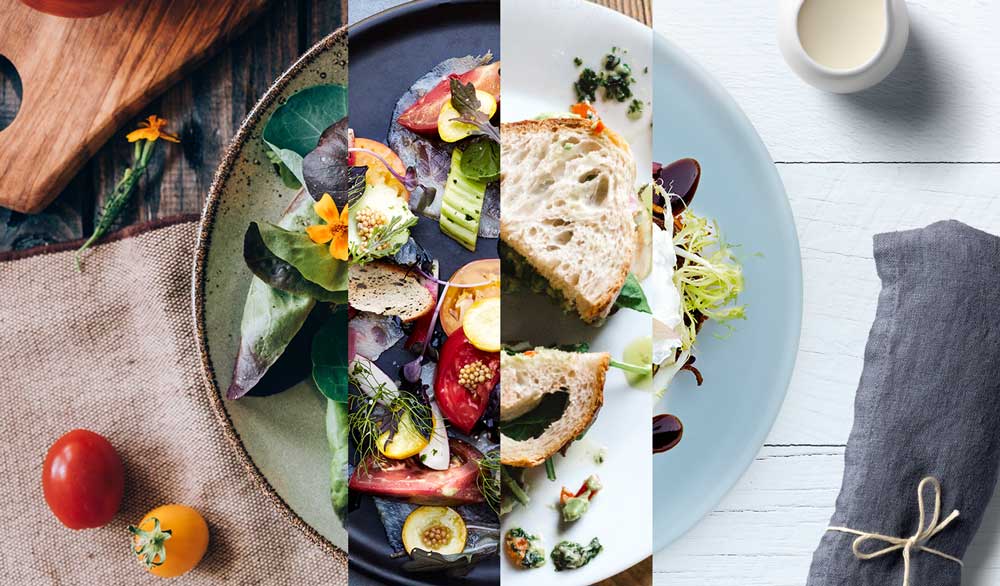
Shooting your food at the same table by the same window may help to create a cohesive look for a food blog, but in a cookbook, it can work against you. The more places your food appears, the more relatable your shots. Try changing up your dishes and tablecloth. A festive table can help a festive recipe look that much more inspiring. All the variations will keep things interesting across dozens of photos and pages as your readers thumb through.
Think of friends who have well-lit spaces and ask to borrow them for a day to shoot recipes, maybe in exchange for the meal you plan to shoot. Take as many shots as you can, at as many angles as you can, in as many situations as you can for the strongest visual content. What you don’t use for the book, you can use in advertising your book.
Although this may sound like an intimidating process, Blurb and BookWright make it easy to make a cookbook! Do the work in bite-sized (pun intended) pieces, and don’t be afraid to pivot themes, dishes, and overall flow as you go.
Don’t forget that finished is better than perfect—this applies to recipes, page layouts, or anything you pull out of the oven. There comes a point when you just have to let it go and get it to the table and make notes for next time. Many people who create cookbooks say it makes them better cooks and that they feel accomplished when it’s done. All those sessions of taking careful notes and tediously measuring translate to a recipe book (and a healthy serving of meals) that you can be proud of.
***
Start capturing your culinary successes by making a cookbook today.

